Nikon Z7II Manual: A Comprehensive Guide
Discover the Z 7II’s features and firmware updates within this user guide! Learn about new capabilities, N-Log function, and Wi-Fi connections for Nikon users․
Welcome to the Nikon Z7II, a full-frame mirrorless camera renowned for its exceptional image quality and advanced features․ This manual serves as a comprehensive resource for both novice and experienced photographers․ Explore detailed guides covering everything from initial setup to advanced techniques, including N-Log usage and Wi-Fi connectivity․
Understand firmware updates and troubleshooting common issues to maximize your photographic experience with this powerful Nikon tool․
Unboxing and Initial Setup

Carefully unpack your Nikon Z7II, verifying all included components․ Begin by inserting the battery and a compatible SD card․ Power on the camera and follow the on-screen prompts to set the language, date, and time․ Connect to a Wi-Fi network following the displayed SSID and password for initial connectivity․
This sets the foundation for utilizing remote control and image transfer features․
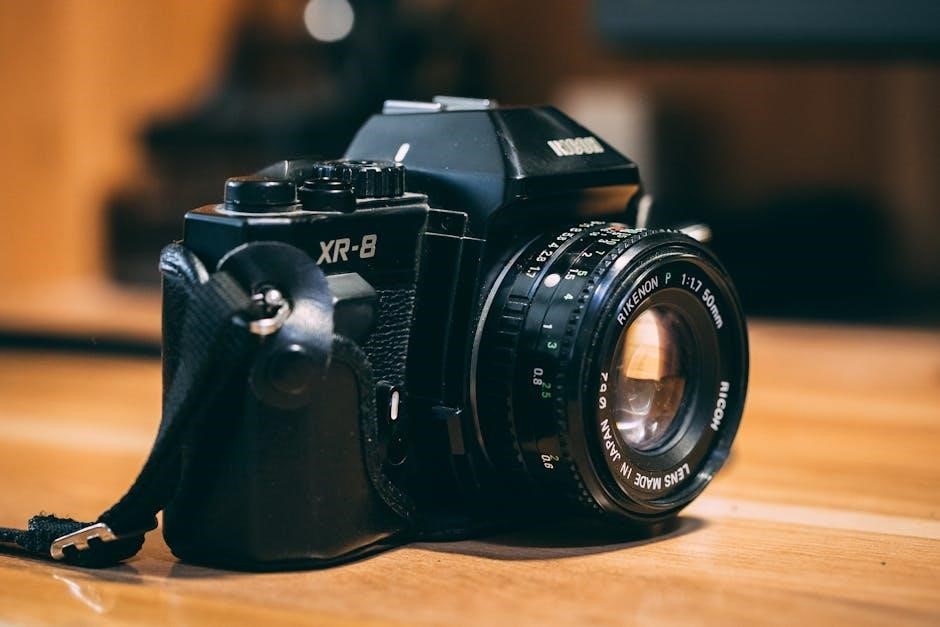
Understanding the Camera Body & Controls
Familiarize yourself with the Z7II’s ergonomic design and button placement․ The camera body houses essential controls for shooting modes, focusing, and exposure settings․ Explore the top-panel dials and rear controls to understand their functions․ This initial exploration will streamline your workflow and enhance your shooting experience, allowing for quick adjustments․
Button and Dial Functions
The Z7II features dedicated buttons for ISO, white balance, and quality settings․ Dials control aperture, shutter speed, and exposure compensation․ The multi-function joystick facilitates focus point selection․ Customization options allow remapping buttons for personalized control․ Understanding each control’s function is crucial for efficient operation and creative expression during photography․
Customizing Control Layout
The Nikon Z7II allows extensive control customization via the menu system․ Users can reassign functions to buttons and dials, tailoring the camera to their shooting style․ This includes customizing the ‘i-Menu’ for quick access to frequently used settings․ Personalizing the layout enhances efficiency and streamlines workflow, optimizing the camera for individual preferences․

Navigating the Menu System
The Nikon Z7II features a comprehensive menu system, logically organized into categories like Shooting, Custom Settings, and Setup․ Familiarize yourself with its structure for efficient operation․ Access settings directly or utilize the ‘i-Menu’ for quick adjustments․ Understanding the menu layout is crucial for unlocking the camera’s full potential and customizing its functions․
Shooting Menu Options
Within the Shooting Menu, configure essential settings like image quality (RAW vs․ JPEG), white balance, ISO sensitivity, and autofocus modes․ Adjust metering options, activate features like vibration reduction, and manage exposure controls․ Explore options for bracketing, multiple exposure, and time-lapse photography to enhance your creative control and capture stunning images․
Custom Setting Menu Options
The Custom Setting Menu allows personalized camera behavior․ Configure button assignments, control layouts, and display settings to match your shooting style․ Adjust autofocus, metering, and exposure settings for precise control․ Manage file naming, image review, and setup options for efficient workflow․ Save and load custom settings profiles for different shooting scenarios․

Focusing Modes and Techniques
Master precise focusing with the Z7II’s versatile modes․ Explore Auto-Area AF for quick subject acquisition, and refine with options like Wide-Area AF․ Utilize subject-detection AF for people and animals․ For critical work, employ Manual Focus, leveraging focus peaking and magnification․ Understand focus lock and back-button focus techniques for enhanced control․
Auto-Area AF Modes
Explore the Z7II’s Auto-Area AF options for effortless focusing․ Utilize Wide-Area AF for general subjects, allowing the camera to select focus points․ Auto-Area AF automatically detects and tracks subjects, ideal for dynamic scenes․ Subject-detection AF prioritizes people and animals․ Experiment with these modes to find what best suits your shooting style and subject matter․
Manual Focus Operation
Achieve precise control with the Z7II’s manual focus․ Rotate the focus ring on the lens for adjustments․ Utilize focus peaking, highlighting in-focus areas for visual confirmation․ Magnify the image via live view for critical sharpness assessment․ Fine-tune focus using the rear command dial for subtle adjustments, ensuring optimal clarity in your images․
Exposure Control: Aperture, Shutter Speed, and ISO
Master the exposure triangle – aperture, shutter speed, and ISO – for creative control; Aperture dictates depth of field, shutter speed controls motion blur, and ISO manages sensitivity․ Understand their interplay to achieve desired brightness and image quality․ Utilize exposure compensation to fine-tune brightness in various shooting scenarios;
Understanding the Exposure Triangle
The exposure triangle consists of aperture, shutter speed, and ISO, each influencing image brightness․ Aperture controls depth of field, shutter speed freezes or blurs motion, and ISO adjusts sensor sensitivity․ Balancing these three elements is crucial for proper exposure․ Mastering this interplay unlocks creative control over your photographs․
Exposure Compensation
Exposure compensation allows you to fine-tune the camera’s automatically determined exposure․ Use it to brighten or darken images when the camera’s meter is fooled by challenging lighting conditions․ Positive values increase brightness, while negative values decrease it, offering precise control over final image exposure․
Shooting in Different Modes: Auto, Program, Aperture-Priority, Shutter-Priority, Manual
The Nikon Z7II offers diverse shooting modes for varied scenarios․ Auto mode simplifies settings, while Program mode provides creative control․ Aperture-Priority prioritizes depth of field, Shutter-Priority controls motion blur, and Manual mode grants full, customized control over both aperture and shutter speed for experienced photographers․
Choosing the Right Shooting Mode
Selecting the ideal mode depends on your photographic goals․ For quick snapshots, Auto is convenient․ Program mode balances camera settings․ Prioritize aperture for portraits, shutter speed for sports․ Manual mode excels in challenging lighting or when precise control is paramount, demanding a thorough understanding of exposure principles․
Image Quality Settings: RAW vs․ JPEG
RAW files capture all sensor data, offering maximum editing flexibility and detail retention – ideal for professional workflows․ JPEG files are compressed, smaller, and ready for immediate use, but with reduced editing latitude․ Choosing RAW unlocks superior post-processing potential, while JPEG prioritizes convenience and storage efficiency․
Understanding RAW File Benefits
RAW files preserve the full dynamic range captured by the Z 7II’s sensor, enabling recovery of details in highlights and shadows․ They offer non-destructive editing, meaning adjustments don’t alter the original file․ RAW provides greater color accuracy and white balance control, crucial for achieving desired looks during post-processing, maximizing image quality․
Video Recording Capabilities of the Z7II
The Nikon Z7II excels in video, offering diverse resolutions and frame rates for creative control․ Explore its N-Log function for flat picture profiles, ideal for color grading with Look-Up Tables (LUTs)․ This guide details utilizing these features, ensuring professional-quality video output from your full-frame mirrorless camera․
N-Log and LUT Usage
N-Log provides a flat picture profile, capturing maximum dynamic range for post-production flexibility․ This guide explains how to enable N-Log on your Nikon Z7II․ Learn what LUTs (Look-Up Tables) are and how to apply them during editing to achieve desired color grades and cinematic looks, enhancing your video projects․
Video Resolution and Frame Rates
The Nikon Z7II supports versatile video recording options․ This section details available resolutions, including 4K UHD, and various frame rates like 24p, 30p, 60p, and 120p for slow-motion effects․ Understand the impact of each setting on file size and image quality to optimize your video workflow and achieve professional results․
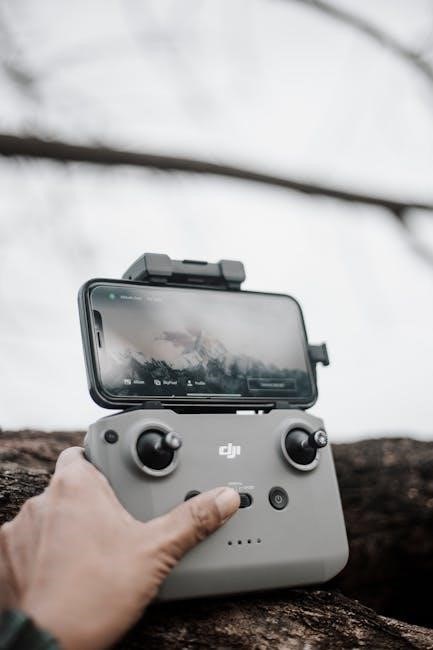
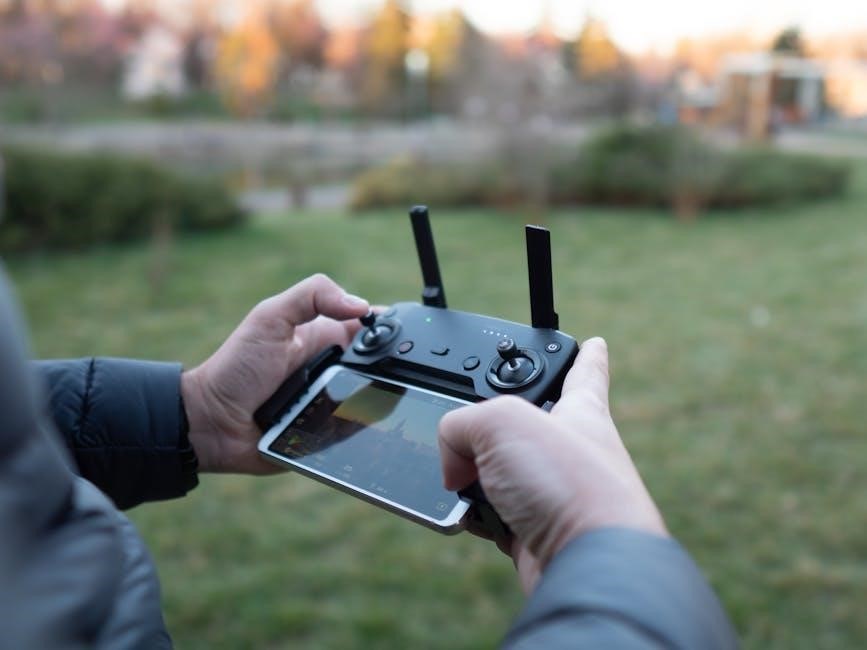
Using the Nikon Z7II with Wi-Fi and Bluetooth
Connect your Z7II wirelessly to smartphones and tablets for seamless image transfer and remote camera control․ Follow the on-screen instructions to initiate a Wi-Fi connection, noting the camera’s SSID and password․ This enables convenient sharing and operation, expanding your creative possibilities with Nikon’s connected ecosystem․
Connecting to Smartphones and Tablets
Initiate a Wi-Fi connection by following the on-screen prompts on your Nikon Z7II․ Locate and input the camera’s SSID (network name) and password on your smartphone or tablet․ This establishes a direct link, facilitating image transfer and enabling remote control features for enhanced shooting convenience and creative flexibility․
Image Transfer and Remote Control
Once connected via Wi-Fi, seamlessly transfer images from your Nikon Z7II to your smartphone or tablet for quick sharing and editing․ Utilize remote control functionalities within the Nikon app to adjust camera settings, trigger the shutter, and preview shots – offering convenient operation from a distance and expanded creative possibilities․
Understanding and Utilizing Picture Control Settings
Nikon’s Picture Control settings – Standard, Neutral, Vivid, and Monochrome – offer distinct image rendering styles․ Customize these profiles to achieve your desired aesthetic directly in-camera, influencing contrast, sharpness, and color saturation․ Experiment with adjustments to tailor the look of your photos without post-processing, enhancing your creative workflow․
Standard, Neutral, Vivid, Monochrome
Standard delivers well-balanced tones, ideal for everyday shooting․ Neutral offers a flatter profile for maximum post-processing flexibility․ Vivid boosts saturation and contrast for impactful images․ Monochrome creates striking black and white photos directly in-camera, offering tonal control for artistic expression․ Explore each setting’s unique characteristics!
Customizing Picture Control Profiles
Tailor your images with customized Picture Control profiles! Adjust sharpness, contrast, brightness, saturation, and hue to achieve your desired look․ Save these personalized settings for consistent results across shoots․ Experiment with fine-tuning to match your creative vision, ensuring each image reflects your unique style and preferences․
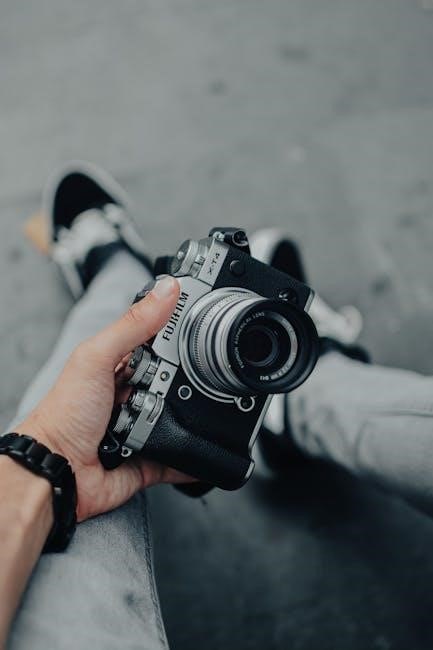
Working with Lenses: Compatibility and Features
Explore the Nikon Z mount lens system for optimal performance with your Z7II․ Native Z mount lenses unlock the camera’s full potential․ Utilize F-Mount lenses seamlessly with the optional FTZ Adapter, maintaining autofocus and exposure functionality․ Discover a wide range of compatible lenses to enhance your photographic possibilities!
Nikon Z Mount Lenses
Experience superior optical performance with Nikon’s dedicated Z mount lenses, designed specifically for the Z7II’s full-frame sensor․ These lenses maximize image quality, sharpness, and autofocus speed․ Benefit from a shorter flange distance, enabling innovative optical designs and compact lens profiles for exceptional results․

Using F-Mount Lenses with the FTZ Adapter
Expand your lens options by utilizing your existing Nikon F-mount lenses with the optional FTZ Adapter․ This adapter maintains autofocus and auto-exposure functionality with most compatible lenses․ While some limitations may apply with older lenses, the FTZ adapter offers seamless integration and broad compatibility․
Firmware Updates and Their Importance
Regular firmware updates are crucial for optimal Nikon Z7II performance; These updates often include bug fixes, enhanced compatibility, and even new features․ Checking for and installing the latest firmware ensures your camera functions smoothly and benefits from the newest technological advancements offered by Nikon․ Stay current for the best experience!
Checking for and Installing Updates
To check for updates, connect your Z7II to a Wi-Fi network․ The camera will then display the SSID (network name) and password․ Follow the on-screen instructions to initiate the Wi-Fi connection․ Nikon’s download center provides the latest firmware; carefully follow the installation guide to ensure a successful update process․
Troubleshooting Common Issues
If experiencing focusing problems, ensure proper autofocus settings are selected and the lens is clean․ For connectivity issues, verify Wi-Fi credentials and camera settings․ Nikon provides detailed support resources online․ Translations are offered as a service, but no warranties are given regarding their accuracy or completeness․
Focusing Problems
When facing focusing difficulties, confirm the correct autofocus mode is engaged․ Ensure the lens is spotless, as debris impacts performance․ Verify sufficient light for accurate focusing․ Check compatibility when using the FTZ adapter with F-mount lenses․ Consult Nikon’s support resources for advanced troubleshooting steps and solutions․
Connectivity Issues
If experiencing Wi-Fi or Bluetooth connection problems, ensure the camera and device are within range․ Verify the correct SSID and password are entered․ Restart both the camera and your smartphone/tablet․ Confirm the Nikon SnapBridge app is updated․ Check for firmware updates, as these often resolve connectivity bugs․
Battery Management and Power Saving Tips
To optimize battery life, utilize the power-saving features within the Z 7II’s menu․ Enable display off after a period of inactivity and consider using the viewfinder instead of live view․ Reduce image review time and disable unnecessary features like Wi-Fi when not in use․ Carry a spare, fully charged battery․
Battery Life Optimization
Maximize Z 7II battery performance by adjusting power settings․ Shorten display off time and utilize the viewfinder for framing shots․ Disable image review or shorten its duration․ Turn off Bluetooth and Wi-Fi when not actively transferring files․ Employ the camera’s power-saving modes during extended shooting sessions, and always carry a spare battery․
Memory Card Selection and Management
Choose a high-quality SD card with sufficient speed and capacity for your shooting needs․ Faster cards are crucial for continuous shooting and 4K video recording․ Regularly format cards in the camera to maintain optimal performance․ Back up images frequently to prevent data loss, and consider using multiple cards for extended shoots;
Choosing the Right SD Card
Select an SD card with a high write speed, ideally UHS-II, to handle the Z7II’s high-resolution images and 4K video․ Consider capacity based on your shooting style; larger capacities minimize card changes․ Reliable brands are recommended․ Verify compatibility with the camera for optimal performance and avoid potential issues during critical shoots․
Cleaning and Maintenance of the Nikon Z7II
Regularly clean the camera body with a soft, dry cloth․ For the sensor, utilize a blower to remove dust, and consider professional sensor cleaning for stubborn particles․ Avoid liquids near openings․ Inspect and clean the lens elements with appropriate lens cleaning solutions and cloths․ Proper care ensures longevity and optimal performance․
Sensor Cleaning

Prioritize using a blower to gently remove dust from the sensor․ If spots persist, consider a sensor cleaning kit, following instructions carefully․ Professional cleaning is recommended for difficult-to-remove debris․ Avoid touching the sensor directly․ Regular checks and careful cleaning maintain image quality and prevent potential damage to the Z7II’s sensitive sensor․
Advanced Features: Focus Stacking and Time-Lapse
Explore creative possibilities with focus stacking, capturing incredible depth of field․ The Z7II facilitates this by automatically acquiring multiple images at varying focus points․ Similarly, utilize the built-in time-lapse feature to condense extended periods into captivating videos․ Setup involves selecting intervals and duration for stunning results․
Setting up Focus Stacking
Initiate focus stacking by selecting the dedicated mode in the menu․ Define the starting and ending focus points, alongside the step width determining image increments․ Ensure a stable setup, utilizing a tripod, to maintain alignment․ The camera automatically captures the sequence; post-processing software merges them for enhanced sharpness․
Legal Information and Warranty Details
This agreement constitutes the complete understanding between you and Nikon․ The manual is intended for customers who purchased Nikon products; however, no guarantees are provided․ Nikon’s terms of agreement govern product use․ Translations are offered as a service, without expressed or implied warranties․ Review Nikon’s official documentation for full details․
Nikon’s Terms of Agreement
The agreement between you and Nikon is comprehensive, encompassing all aspects of product usage․ This manual serves customers who’ve acquired Nikon products, but warranties aren’t explicitly stated․ Legal terms govern your interaction with the Z7II․ Translations are provided as a convenience, lacking guaranteed accuracy․ Consult official Nikon documentation for complete legal details․